
When it comes to food photography I always say, “we eat with our eyes first.” You could have the most fantastic recipe, but the average consumer will scroll past it if you don’t know how to take drool-worthy photos.
Since I started sharing food photos on personal social media accounts, people have asked me where to start and if it costs a lot. The answer is yes, and no; anyone can start with minimal and cheap equipment, and I’m going to show you exactly how with five simple steps!
[vc_separator]
Smartphone: A smartphone is excellent to use when just starting. They are super user-friendly and can save lots of money. The difference between a smartphone and a DSLR camera is the photo quality and control of your scene.[vc_column width=”1/2″]

I suggest only using a smartphone for overhead shots like this
[vc_column width=”1/2″]
Straight-on shots give little to no control over depth of field (the focus of the image which controls background blur) like this
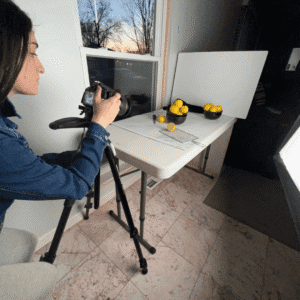
A DSLR camera and tripod: If you’re ready to take your photos to the next level, a DSLR camera and tripod are the way to go. Owning a DSLR camera allows for more quality and control in your photos. A tripod makes photos look sharper and prevents the inevitable handshaking. Also, it allows for lower shutter speeds that bring in more light during photoshoots and require almost no movement to capture a clear and crisp shot.
Most people have this impression that you need the most expensive camera on the market with a million lenses for quality pictures. The truth is, how the camera is utilized is more important than anything else.
DSLR camera and tripod shown for photo control
Camera options:
Lens options:
Before jumping into the perfect lens for YOU, most cameras come with a kit lens. But if you’re looking for a specific look these are my recommendations.
Tripod options:
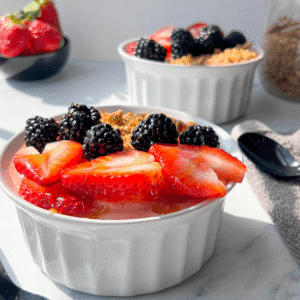
Regardless of the product chosen, it’s all about how YOU work with the camera. The picture on the left was taken with a $125 lens and the picture on the right was taken with a $2,000 lens.[vc_column width=”1/2″]
Used Canon EF 50mm f/1.8 lens and tripod
[vc_column width=”1/2″]

Used Canon EF 24-70mm f/2.8 lens and tripod
[vc_separator]
The biggest mistake people make in shooting their photos is using a kitchen light, not natural light. The “golden hours” for food photography are between 10 a.m. and 3 p.m., next to a window with lots of sunlight.
So how do you combat too little or too much light? During the summer, harsh light can make food photos look stale and unappetizing. But if you place a diffuser it will eliminate the problem.
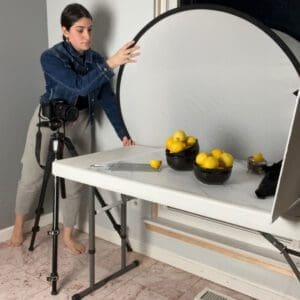
Used a diffuser to block harsh sunlight
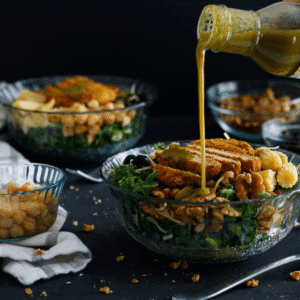
Winter lighting can be tricky because the sun sets earlier. But using a bounce board (which can also be found at the dollar store) and artificial light can solve many of those problems.[vc_column width=”1/2″]

Used bounce board to reflect light and brighten photos
[vc_column width=”1/2″]
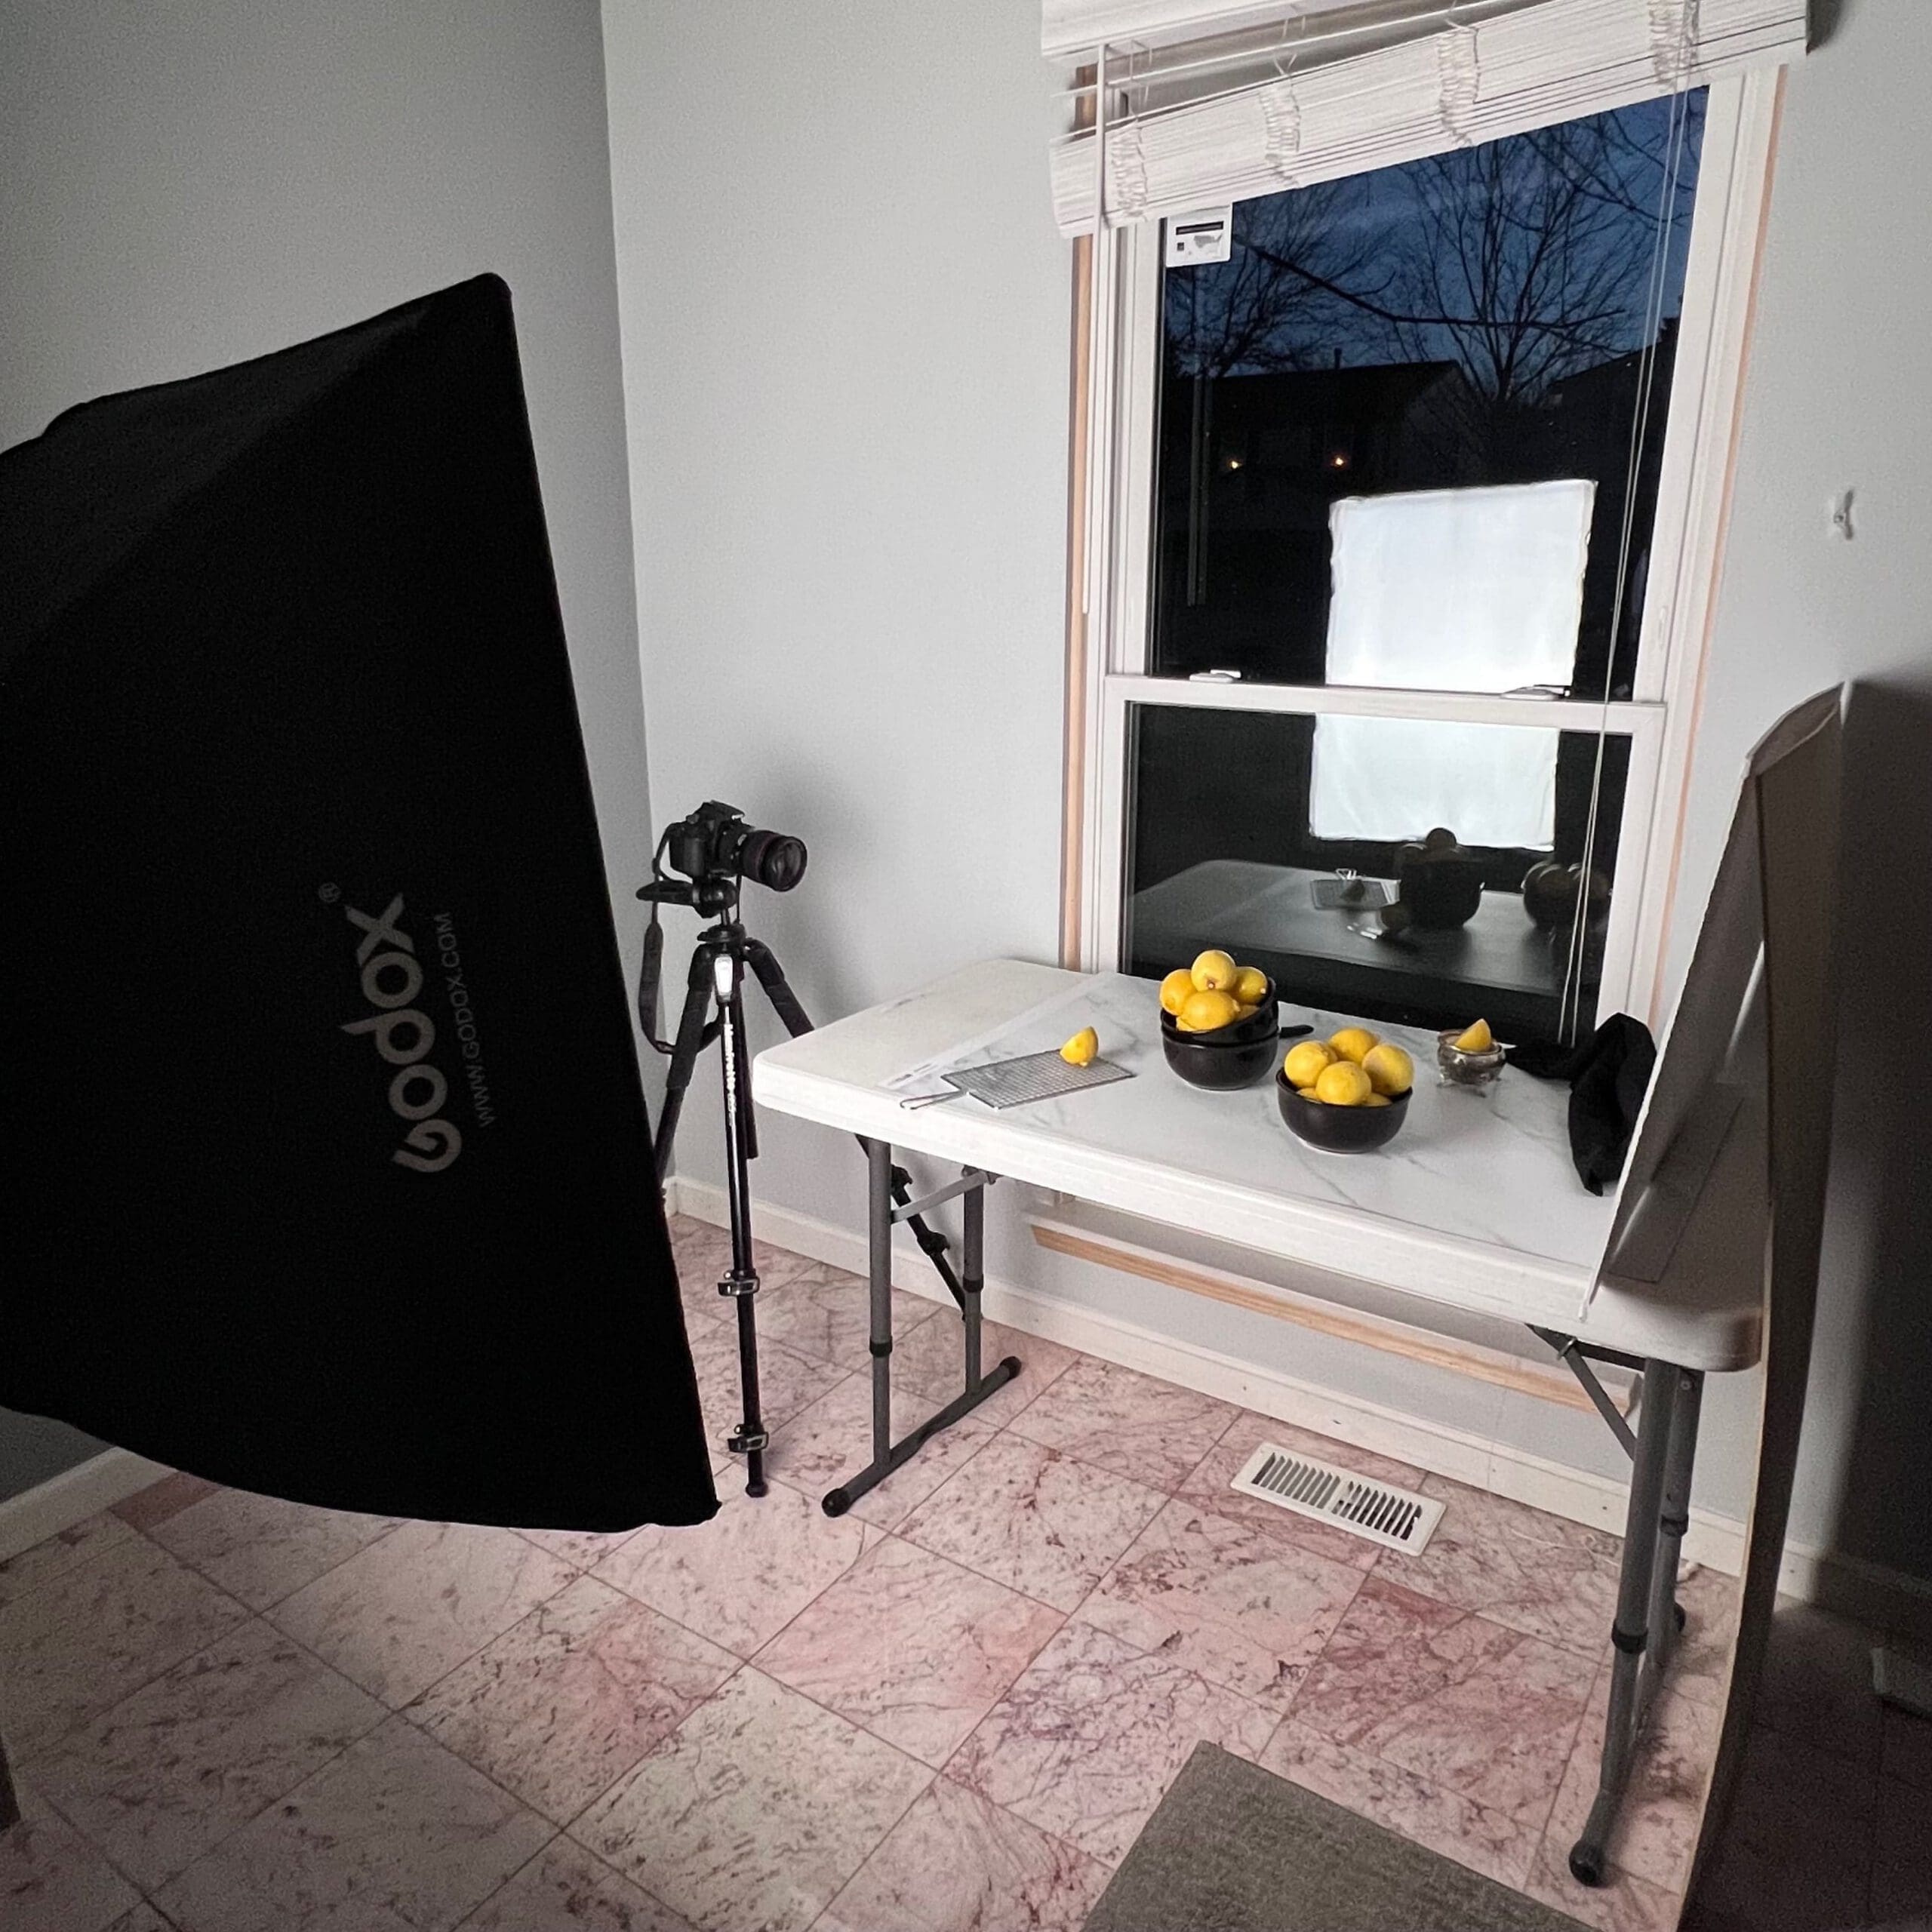
Used Godox artificial light since it was dark outside
[vc_separator]
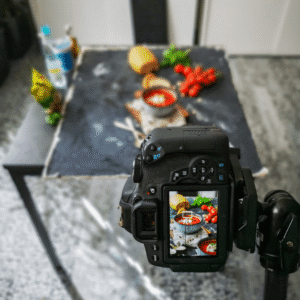
You can purchase backdrops from many places, but my favorites are the Beyiang photography backdrop boards and Replica Surfaces. Both offer beautiful designs that last for years and allow for mishaps such as spills and crumbs, especially when conducting food photography. But if you are starting small and don’t want to spend a lot of money, go to the dollar store and purchase poster boards/foam boards. Better yet, you can use bed sheets as a backdrop or a surface at home that’s completely free![vc_column width=”1/2″]
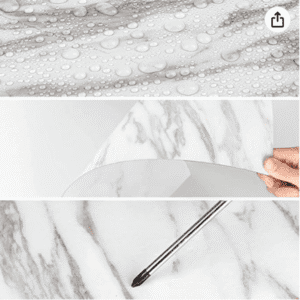
Waterproof backdrops
[vc_column width=”1/2″]

Poster board
[vc_separator]
There are SO MANY props to choose from, so where do you start? You can start with FREE products you already have at home or go to the thrift store and purchase products for cheap!
Prop options:
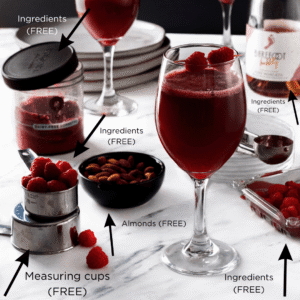
Free props that were used during the photoshoot – measuring cups, ingredients, etc
[vc_separator]
After taking photos, editing software is important to enhance the colors, texture, sizes and more.
Adobe Lightroom:
Snapseed:
[vc_column width=”1/2″]
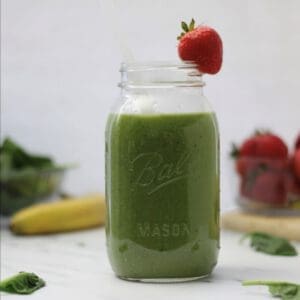
Raw image with no edits
[vc_column width=”1/2″]
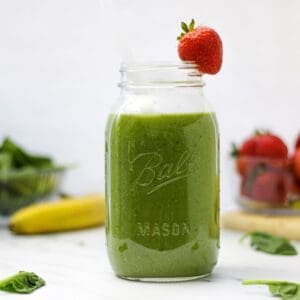
Edits made in Lightroom and Snapseed
[vc_separator]
If you are an entrepreneur looking to discuss business roadblocks and goals beyond the photography tips offered in this blog, book a free one-on-one consultation with a TechTown business strategist![vc_separator] Written by: Eva Kashat, Marketing Coordinator at TechTown Detroit
